
前言
参考:
https://www.cnblogs.com/sowler/p/18242819
https://github.com/gm19900510/Harbor_Install
Docker 私有仓库
Docker 默认的镜像源是 DockerHub,而与 DockerHub 不同,私有仓库是受限访问的,只有授权用户才能够上传、下载和管理其中的镜像。这种私有仓库可以部署在本地云环境中,用于组织内部开发、测试和生产环境中的容器镜像管理,保证数据安全性。
常见的 Docker 私有仓库有:Harbor、Docker Trusted Registry (DTR)、Portus、Nexus Repository Manager、GitLab Container Registry、AWS Elastic Container Registry (ECR)
Harbor
Harbor 是由 VMware 公司开源的企业级的 Docker Registry 管理项目,相比 Docker 官方拥有更丰富的权限权利和完善的架构设计,适用大规模 docker 集群部署提供仓库服务。
它主要提供 Dcoker Registry 管理界面 UI,可基于角色访问控制,镜像复制,AD/LDAP 集成,日志审核等功能,完全的支持中文。
主要功能:
- 基于角色的访问控制:用户与 Docker 镜像仓库通过“项目”进行组织管理,一个用户可以对多个镜像仓库在同一命名空间(project)里有不同的权限。
- 基于镜像的复制策略:镜像可以在多个 Registry 实例中复制(可以将仓库中的镜像同步到远程的 Harbor,类似于 MySQL 主从同步功能),尤其适合于负载均衡,高可用,混合云和多云的场景。
- 图形化用户界面:用户可以通过浏览器来浏览,检索当前Docker镜像仓库,管理项目和命名空间。
- 支持 AD/LDAP:Harbor可以集成企业内部已有的AD/LDAP,用于鉴权认证管理。
- 镜像删除和垃圾回收:Harbor支持在Web删除镜像,回收无用的镜像,释放磁盘空间。image可以被删除并且回收image占用的空间。
- 审计管理:所有针对镜像仓库的操作都可以被记录追溯,用于审计管理。
- RESTful API:RESTful API 提供给管理员对于Harbor更多的操控, 使得与其它管理软件集成变得更容易。
- 部署简单:提供在线和离线两种安装工具,也可以安装到vSphere平台(OVA方式)虚拟设备。 Harbor 的所有组件都在 Docker 中部署,所以 Harbor 可使用 Docker Compose 快速部署。
架构:
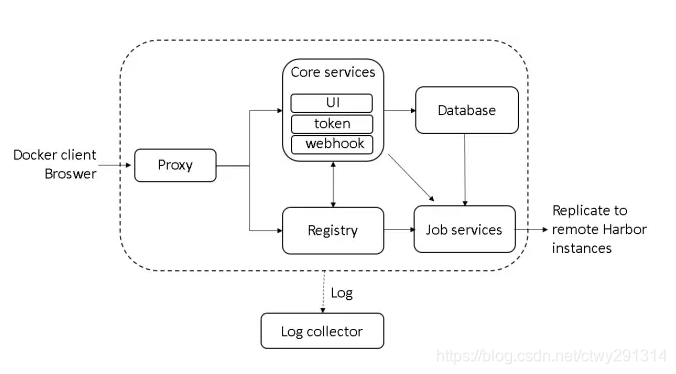
Registry:负责存储 docker 镜像,处理上传/下载命令。对用户进行访问控制,它指向一个 token 服务,强制用户的每次 docker pull/push 请求都要携带一个合法的 token,registry 会通过公钥对 token 进行解密验证
Core service:核心功能
- UI:图形界面
- Webhook:及时获取 registry 上 image 状态变化情况,在 registry 上配置 webhook,把状态变化传递给 UI 模块
- Token 服务:复杂根据用户权限给每个 docker pull/push 命令签发 token。Docker 客户端向 registry 服务发起的请求,如果不包含 token,会被重定向到这里,获得 token 后再重新向 registry 进行请求
部署
宿主机环境是 Mac
直接用离线安装的方式部署,下载离线包(这里下载的是 amd64 架构,不过有 rosetta 在问题不大): https://github.com/goharbor/harbor/releases
此时最新版本是 2.14.2

修改配置文件
cp harbor.yml.tmpl  harbor.yml
mkdir -p opt     # 用于存放harbor的持久化数据
harbor.yml 主要修改的内容:路径映射,ip域名,关闭 https
# The IP address or hostname to access admin UI and registry service.
# DO NOT use localhost or 127.0.0.1, because Harbor needs to be accessed by external clients.
hostname: 192.168.77.94

# http related config
http:
  # port for http, default is 80. If https enabled, this port will redirect to https port
  port: 8999

# https related config
# https:
#   # https port for harbor, default is 443
#   port: 443
#   # The path of cert and key files for nginx
#   certificate: /your/certificate/path
#   private_key: /your/private/key/path
#   # enable strong ssl ciphers (default: false)
#   # strong_ssl_ciphers: false

# The initial password of Harbor admin
# It only works in first time to install harbor
# Remember Change the admin password from UI after launching Harbor.
harbor_admin_password: Harbor12345

# Harbor DB configuration
database:
  # The password for the user('postgres' by default) of Harbor DB. Change this before any production use.
  password: root123
  # The maximum number of connections in the idle connection pool. If it <=0, no idle connections are retained.
  max_idle_conns: 100
  # The maximum number of open connections to the database. If it <= 0, then there is no limit on the number of open connections.
  # Note: the default number of connections is 1024 for postgres of harbor.
  max_open_conns: 900
  # The maximum amount of time a connection may be reused. Expired connections may be closed lazily before reuse. If it <= 0, connections are not closed due to a connection's age.
  # The value is a duration string. A duration string is a possibly signed sequence of decimal numbers, each with optional fraction and a unit suffix, such as "300ms", "-1.5h" or "2h45m". Valid time units are "ns", "us" (or "µs"), "ms", "s", "m", "h".
  conn_max_lifetime: 5m
  # The maximum amount of time a connection may be idle. Expired connections may be closed lazily before reuse. If it <= 0, connections are not closed due to a connection's idle time.
  # The value is a duration string. A duration string is a possibly signed sequence of decimal numbers, each with optional fraction and a unit suffix, such as "300ms", "-1.5h" or "2h45m". Valid time units are "ns", "us" (or "µs"), "ms", "s", "m", "h".
  conn_max_idle_time: 0

# The default data volume
data_volume: ~/DevOps/Harbor/opt


# Log configurations
log:
  # options are debug, info, warning, error, fatal
  level: info
  # configs for logs in local storage
  local:
    # Log files are rotated log_rotate_count times before being removed. If count is 0, old versions are removed rather than rotated.
    rotate_count: 50
    # Log files are rotated only if they grow bigger than log_rotate_size bytes. If size is followed by k, the size is assumed to be in kilobytes.
    # If the M is used, the size is in megabytes, and if G is used, the size is in gigabytes. So size 100, size 100k, size 100M and size 100G
    # are all valid.
    rotate_size: 200M
    # The directory on your host that store log
    location: ~/DevOps/Harbor/log
然后执行 install.sh 安装脚本即可
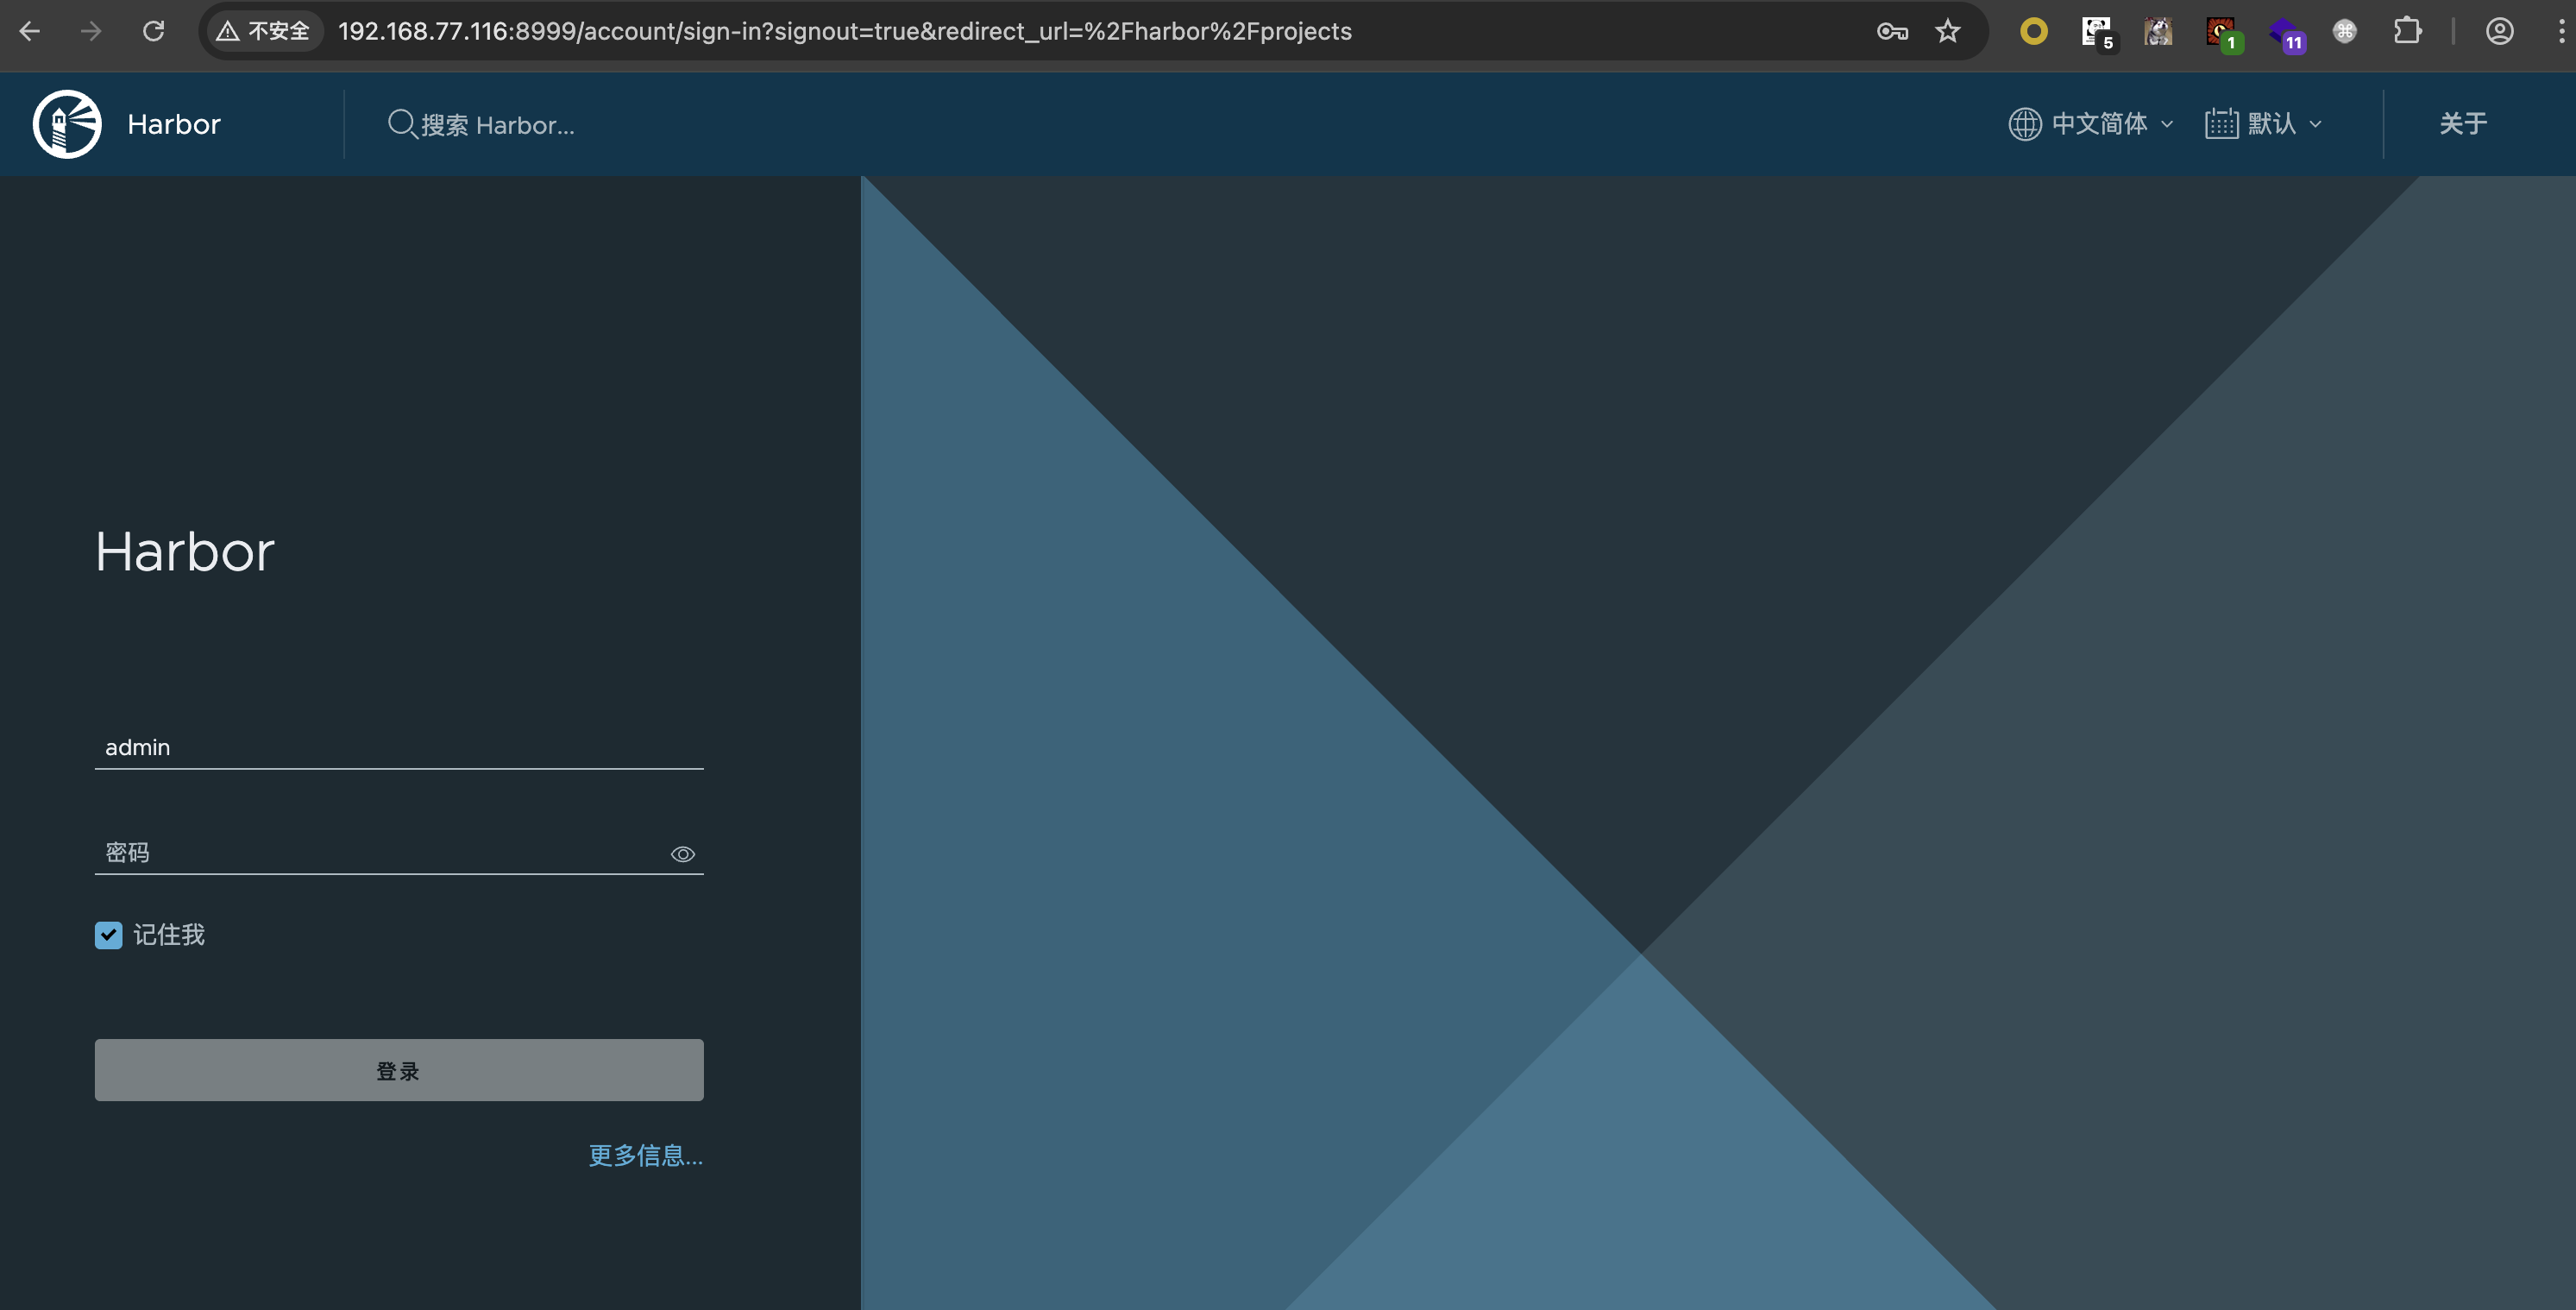
帐密 admin:Harbor12345
使用
docker 登录 registry
这一步用来熟悉一下 docker login 的操作,不是必须的
首先修改 docker-compose.yml,把 registry 的认证端口暴露出来
registry:
  image: goharbor/registry-photon:v2.14.2
  container_name: registry
  restart: always
  cap_drop:
    - ALL
  cap_add:
    - CHOWN
    - SETGID
    - SETUID
  volumes:
    - /Users/mashiro/DevOps/Harbor/opt/registry:/storage:z
    - ./common/config/registry/:/etc/registry/:z
    - type: bind
      source: /Users/mashiro/DevOps/Harbor/opt/secret/registry/root.crt
      target: /etc/registry/root.crt
    - type: bind
      source: ./common/config/shared/trust-certificates
      target: /harbor_cust_cert
  networks:
    - harbor
  depends_on:
    - log
  logging:
    driver: "syslog"
    options:
      syslog-address: "tcp://localhost:1514"
      tag: "registry"
  ports:
    - 5000:5000
然后尝试登录
❯ docker login 192.168.77.94:5000
Username: admin
Password:
Error response from daemon: Get "https://192.168.77.94:5000/v2/": http: server gave HTTP response to HTTPS client
Docker 自从 1.3.x 之后 docker registry 交互默认使用的是 HTTPS,但是我们搭建私有镜像默认使用的是 HTTP 服务,所以与私有镜像交互时以 https 访问会导致出错
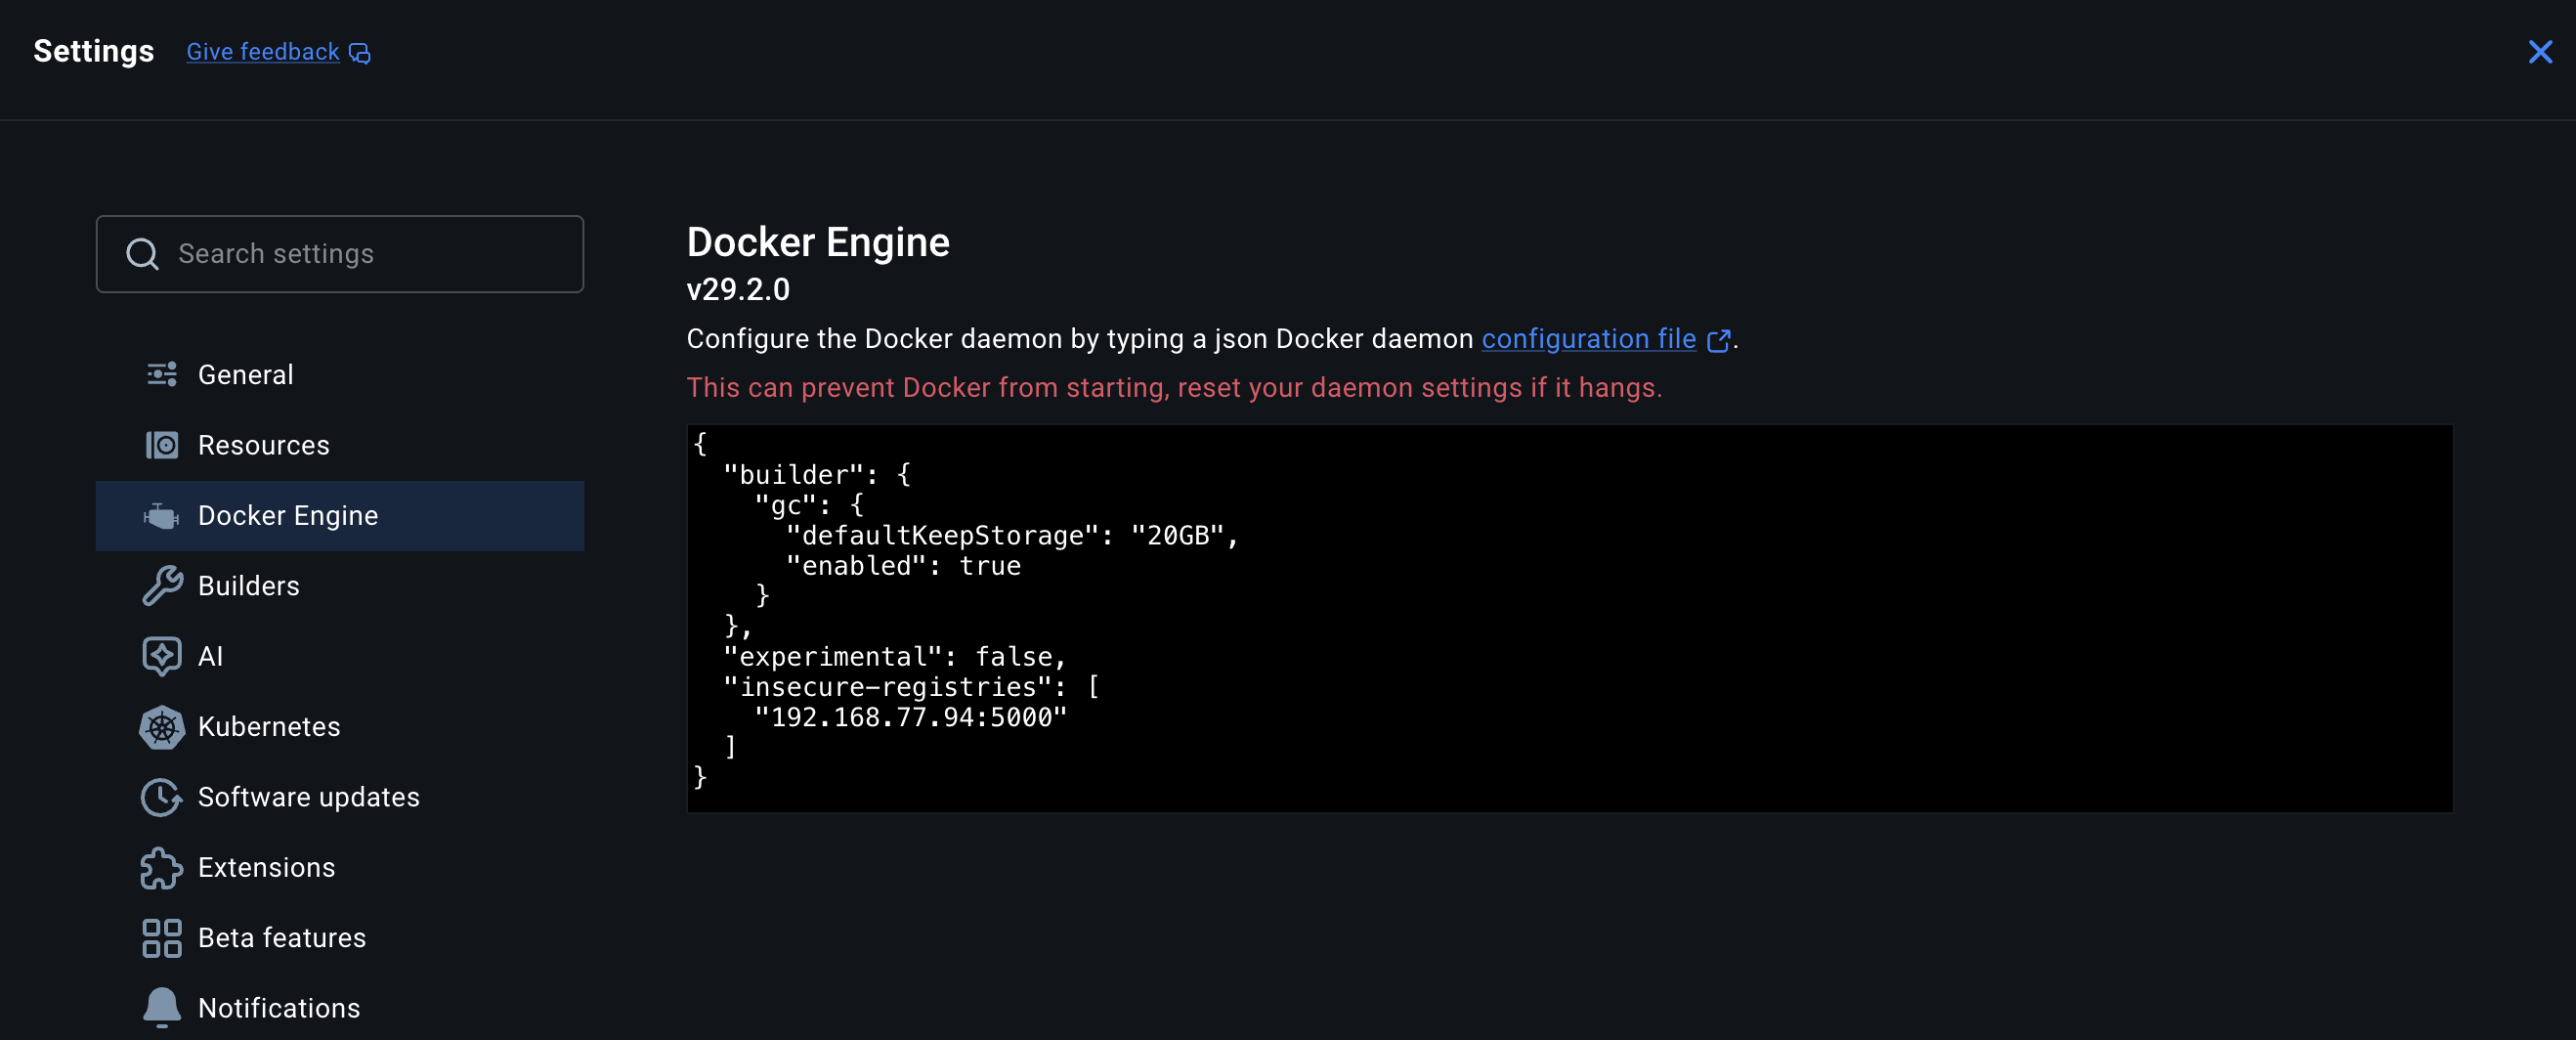
解决办法是修改 daemon.json,加上这一段
"insecure-registries": [
 "192.168.77.94"
]
然后重启 docker 服务
接下来就能连接了,帐密在 common/config/core/env 下的 REGISTRY_CREDENTIAL_USERNAME 和 REGISTRY_CREDENTIAL_PASSWORD
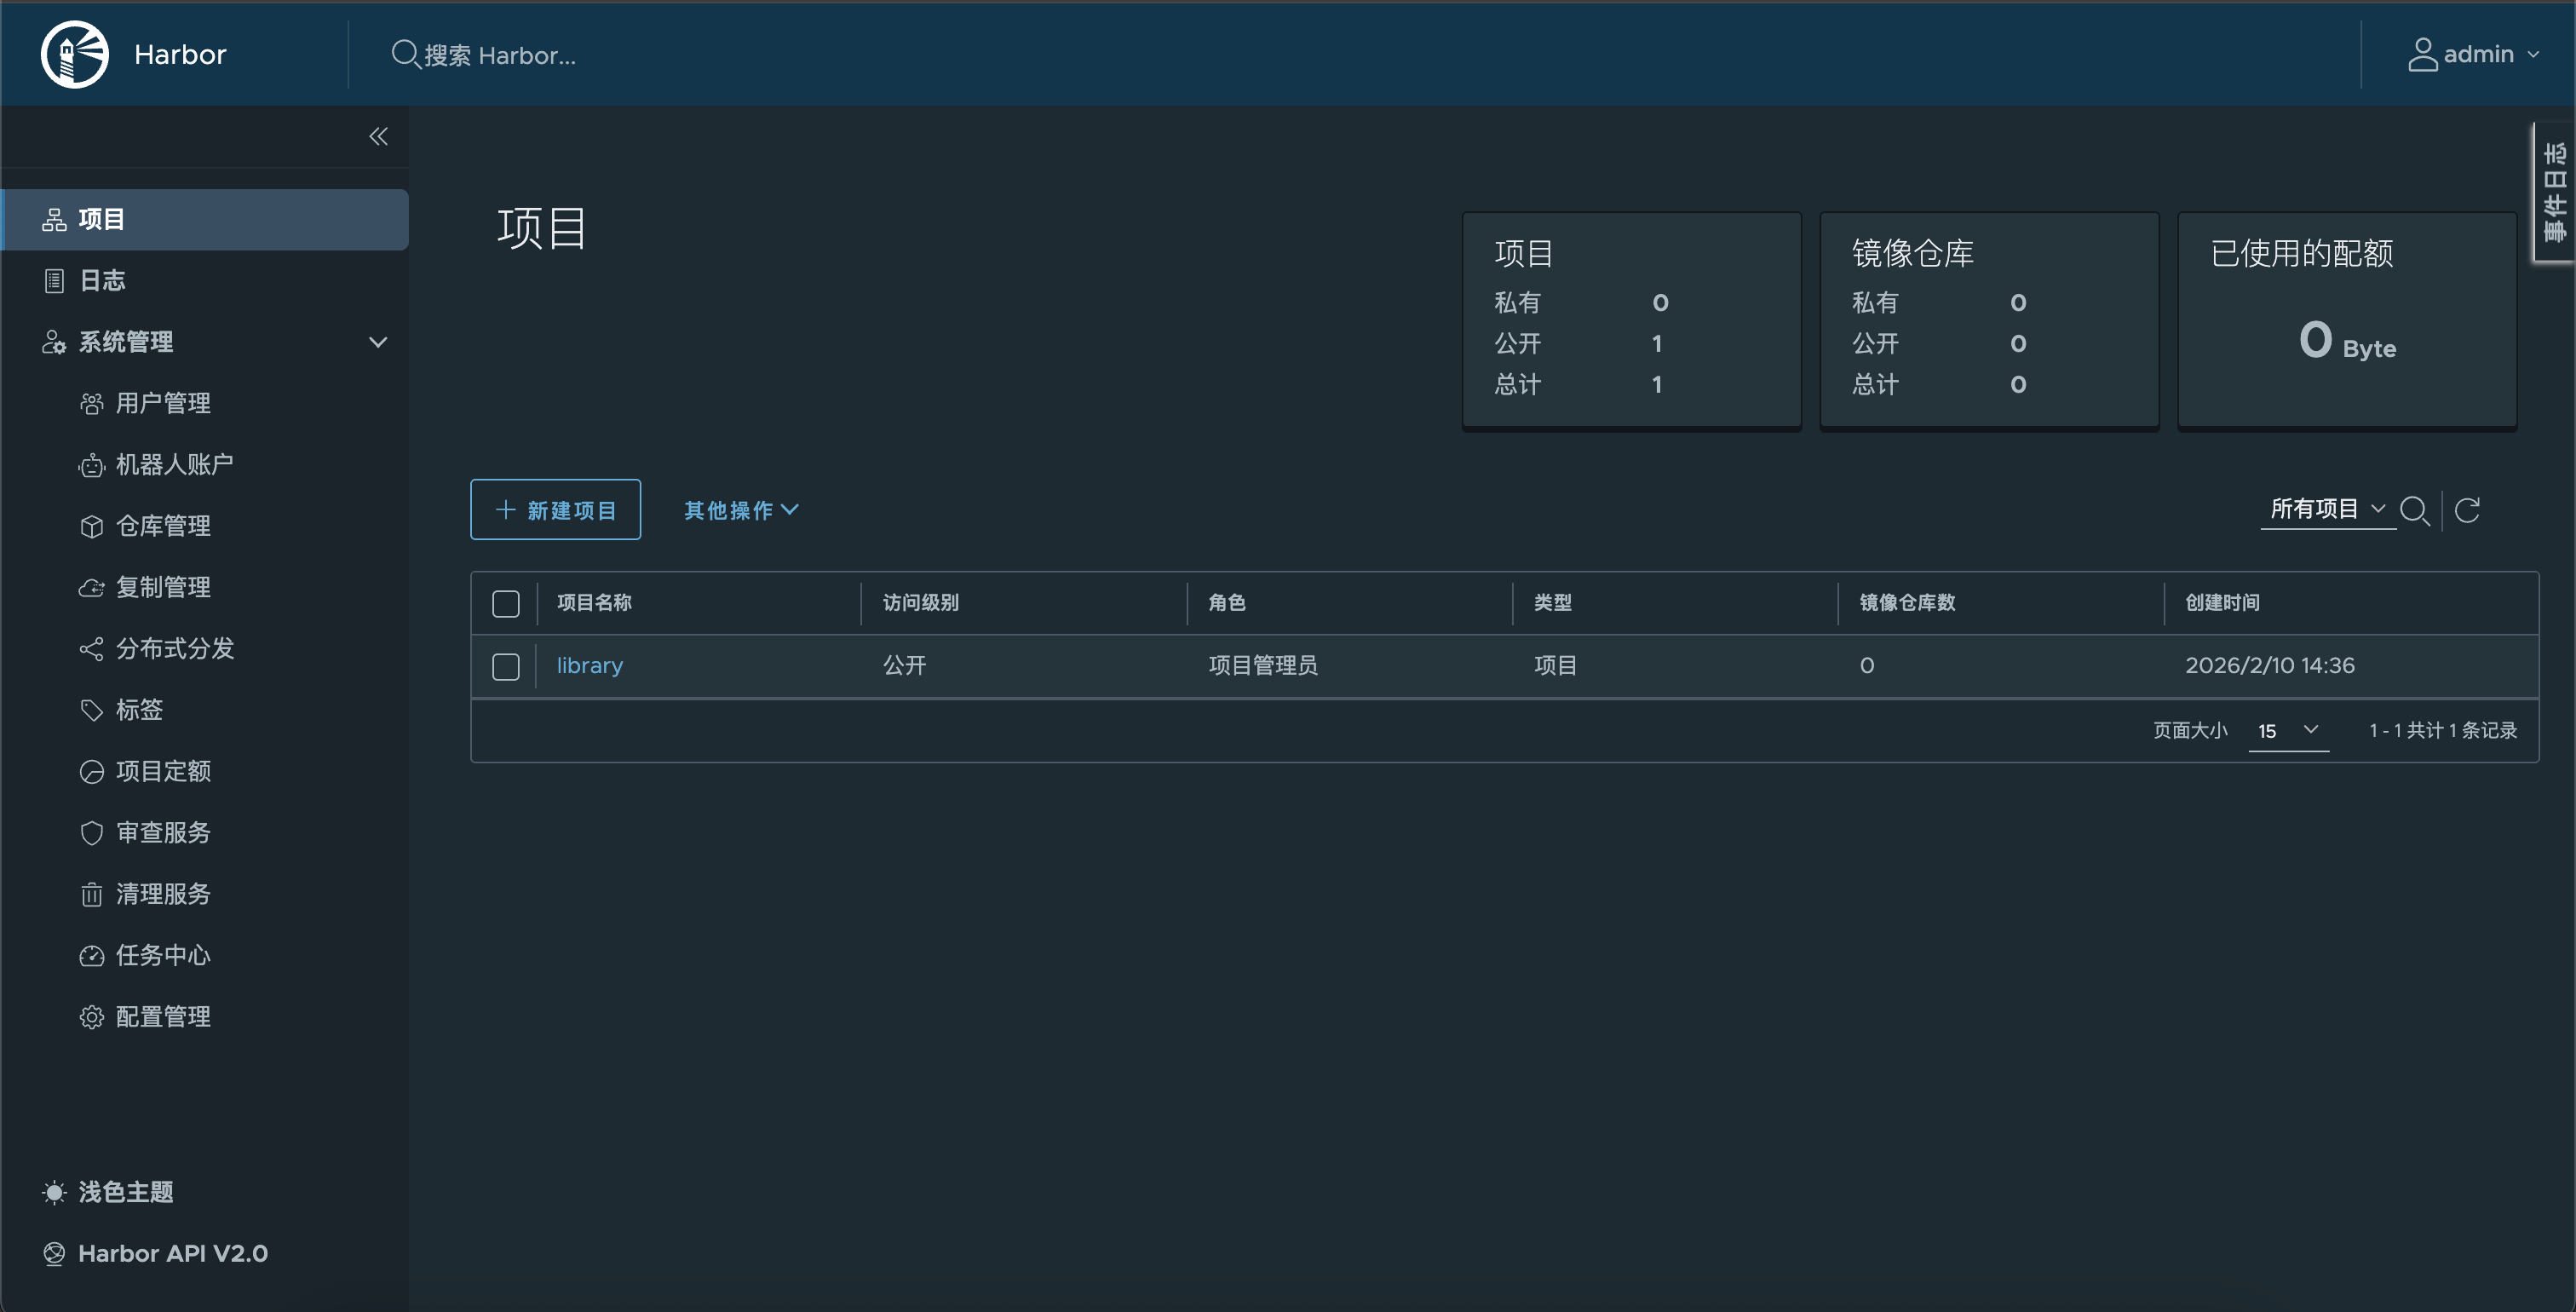
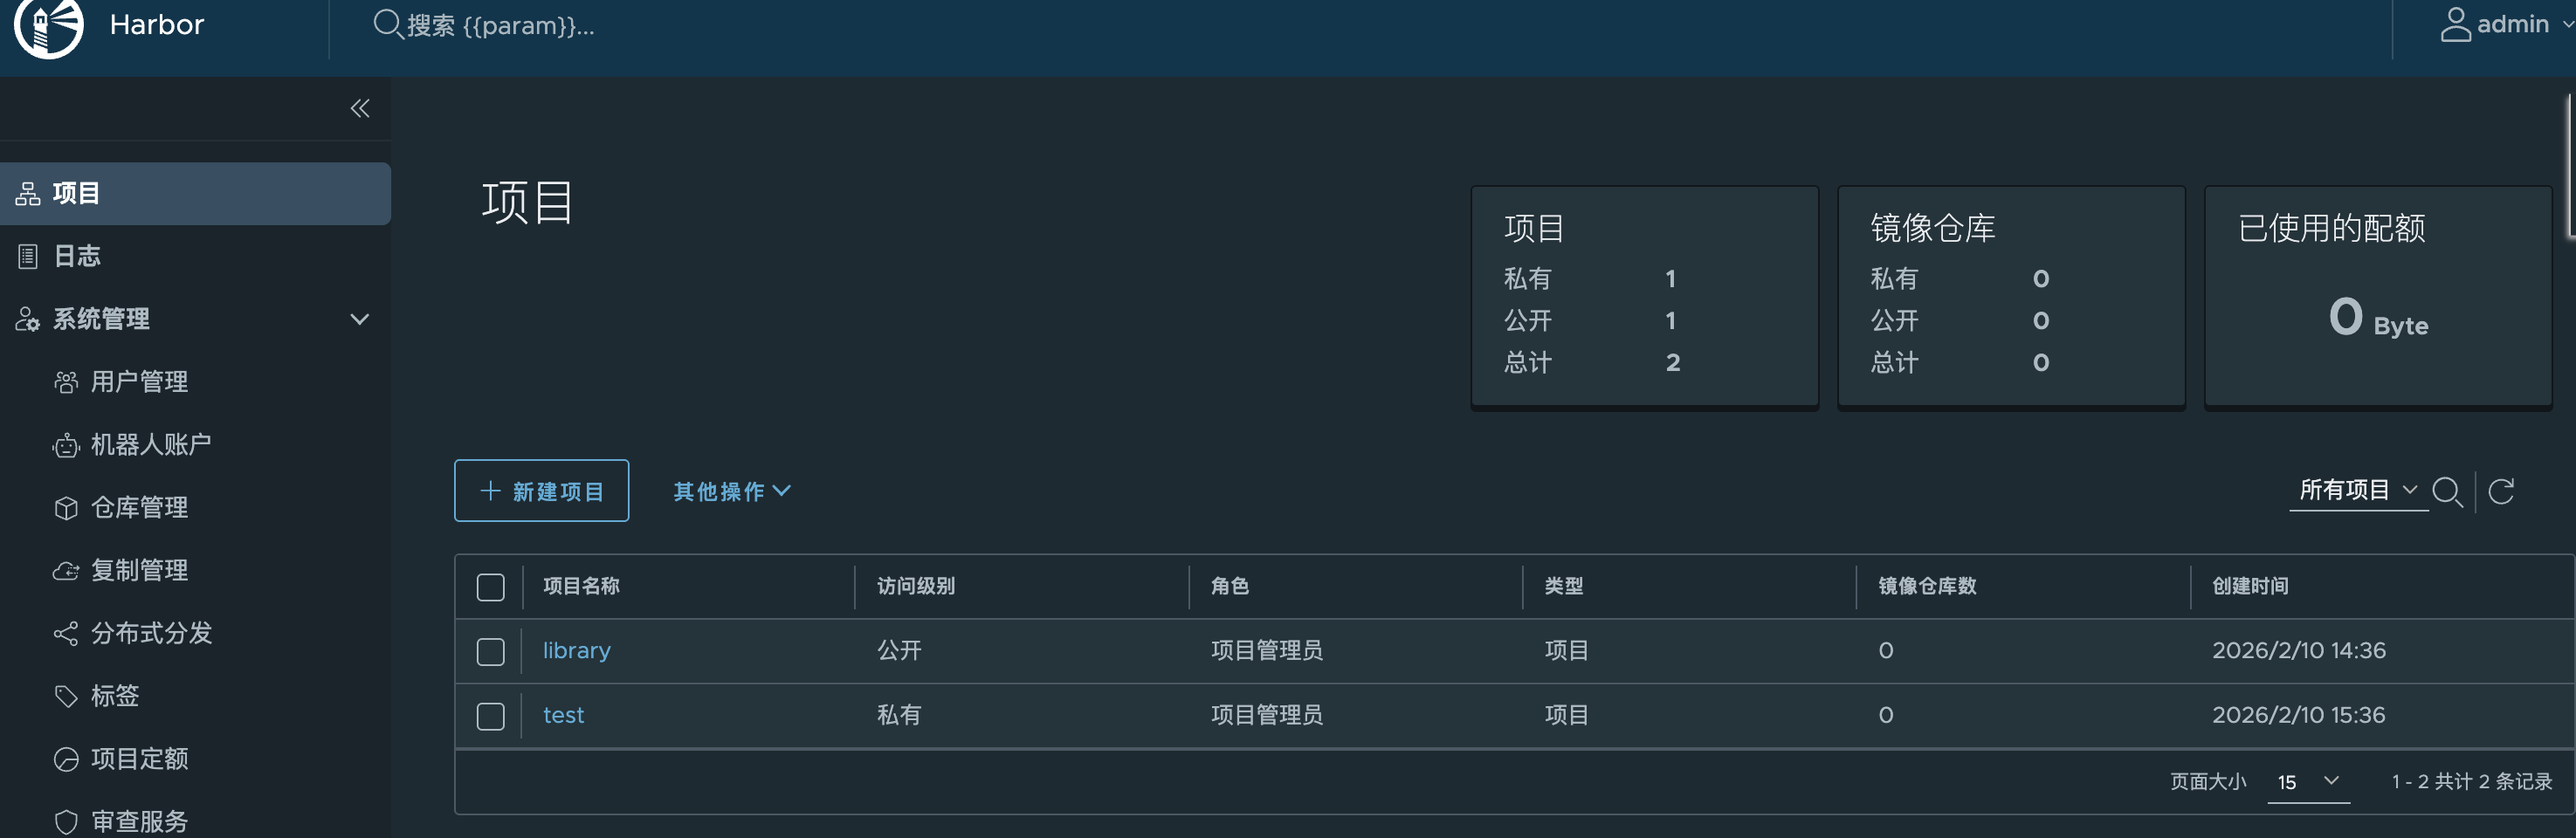
创建新项目并上传
在 Harbor 上创建一个新项目 test 供上传使用
还需要把 8999 端口也加入到 insecure-registries 中
"insecure-registries": [
  "192.168.77.94:5000",
  "192.168.77.94:8999"
]
重启 docker 服务
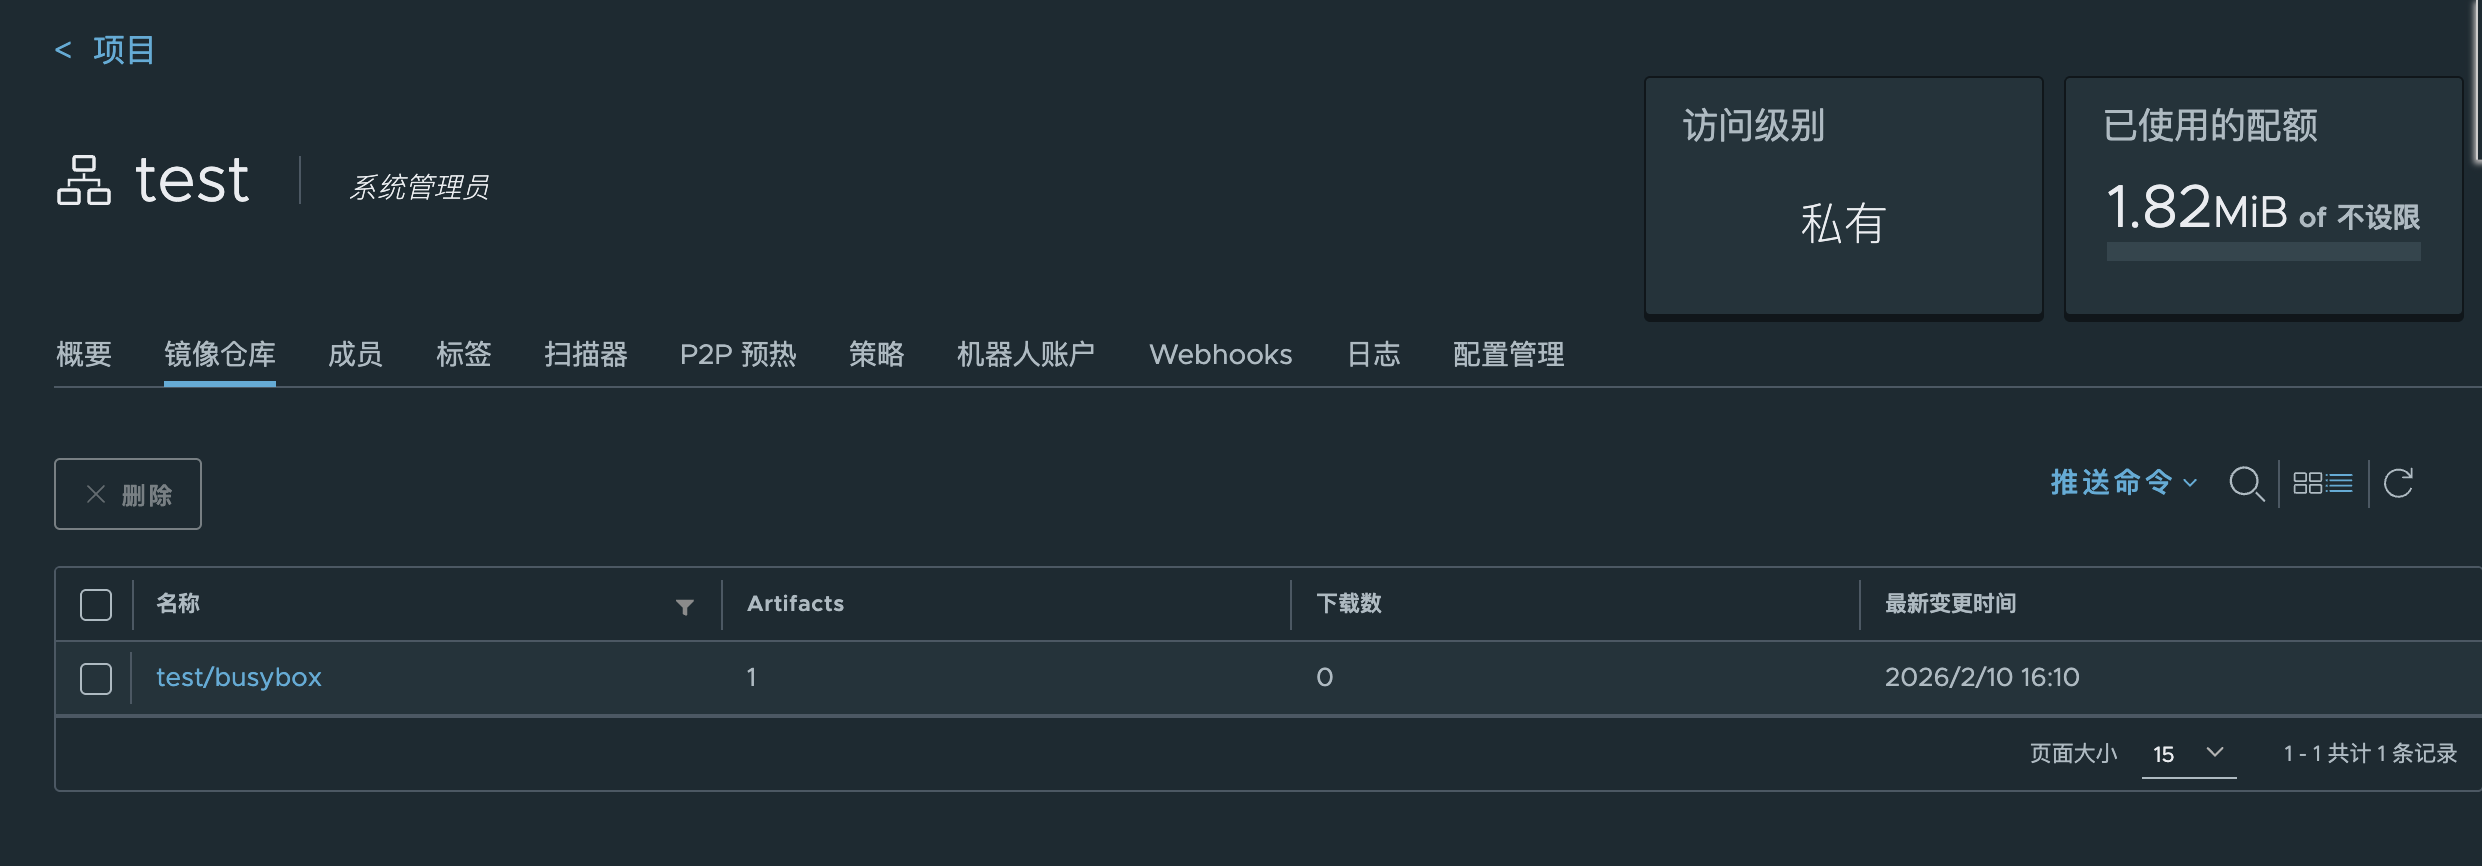
尝试推送镜像
❯ docker tag busybox:latest 192.168.77.94:8999/test/busybox:latest
❯ docker push 192.168.77.94:8999/test/busybox:latest
The push refers to repository [192.168.77.94:8999/test/busybox]
499bcf3c8ead: Unavailable
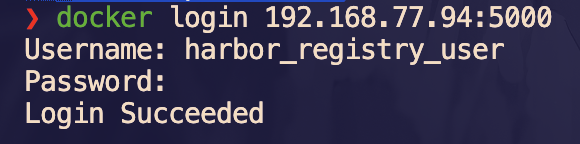
push access denied, repository does not exist or may require authorization: authorization failed: no basic auth credentials此时需要登录 8999,帐密就是 web 端登录的
❯ docker login 192.168.77.94:8999
Username: admin
Password:
Login Succeeded
思考🤔:那其实前面好像没有必要登录 5000 端口,直接登录 8999 端口就行了